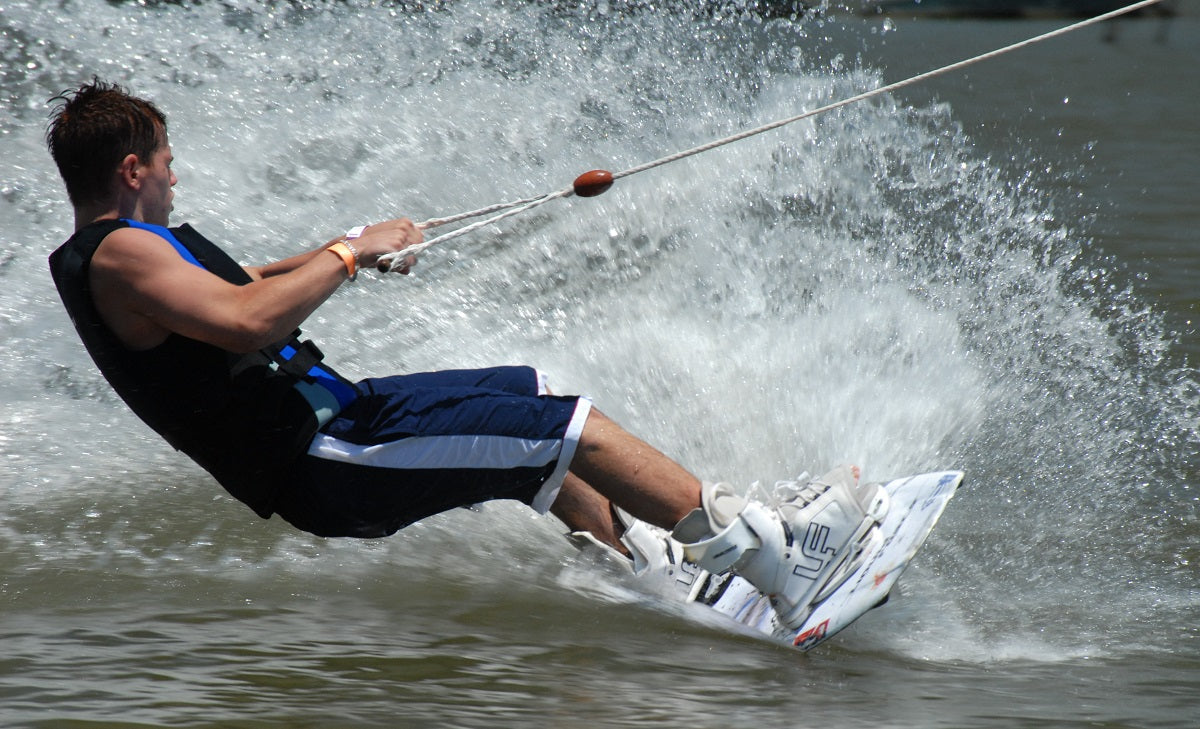
Modern water skis and wakeboards are pretty durable. But big wipeouts, travel and transport, and storage can cause damage to your skis and boards. While a small ding or dent is no trouble, a hard impact can de-laminate fiberglass, and damage composites, ABS, and foam cores. Here's how to save a few hundred dollars on a new ski or board by fixing that damage yourself!
Tools Required
Repairing the damage on your water ski or wakeboard requires just a few basic tools and supplies. Expect to spend between $30 and $100, depending on what you already own for this project:
Dremel
To perform this repair, you'll need to remove the topmost layer of damage on your ski or board. For that, you'll need a Dremel -- hand tools like a razor or snips won't cut it; these materials are too tough for that.
Epoxy Resin
This is the repair material you'll need to re-bond the layers on your ski or board. Epoxy also forms a watertight seal that can be sanded down smooth for a clean finish.
Epoxy applicators
Some simple pointed wood sticks work well, here. We recommend grabbing some from your local craft store. A pointed applicator allows you to poke the epoxy between the damaged layers, forming a tougher repair.
C-clamps
Your ski's or board's de-laminated fiberglass and composite layers will need to be compressed after epoxy's applied, ensuring they remain bonded together permanently while the resin cures. C-clamps work best for this.
Sandpaper
You'll need to clean up that epoxy after it's been applied and allowed to cure. Some coarse paper (200-grit) is recommended for removing the excess resin, followed by a fine (800-1000 grit) paper for the final touch.
Face mask and safety goggles
Cutting fiberglass and composites with a Dremel releases harmful dust. You must wear a face mask and safety goggles to protect your lungs and eyes while you cut and prep your repair.
How to Repair Your Damaged Ski or Board
Before starting, it's a good idea to clean off the area that's damaged. Use some hot water and a damp cloth to remove salt, dirt, and debris.
1. Identify The Damaged Area

You'll need to carefully identify where the damage ends -- it's within this area that you'll need to cut away the topmost layer of your ski or wakeboard, to expose the de-laminated sections and damaged core underneath.
2. Cut Away the Top Layer

Using a Dremel and cutting wheel, gently cut away the outermost layer to expose the damaged section of the ski or board. After cutting away the top layer on our ski, we can see a de-laminated layer of fiberglass, and the inner foam core that was also damaged. This will all be filled in with epoxy.
3. Prep Epoxy for Sealing

Before filling in the damaged area, we want to first re-laminate and compress the separated layers of fiberglass and/or composite. To do this, you'll need to prep an initial batch of epoxy resin, and have your C-clamps ready.
We're using J-B Cold Weld for this repair, but any waterproof epoxy resin will suffice. Our epoxy is already correctly portioned to a 1:1 blend of resin and hardener. If you're using a different epoxy, ensure the ratio of resin to hardener is correct before mixing.
4. Re-Laminate and Clamp Damaged Layers

Using mixed epoxy resin and a narrow applicator (we're using thin craft sticks), fill the de-laminated layers of fiberglass and/or composite with epoxy. Be liberal with the application; excess will be squeezed out through compression, and sanded down later.
Once the layers are sufficiently impregnated with resin and hardener, clamp the applicated area with C-clamps. Use moderate pressure, taking care not to further damage your ski or board.
It's recommended you let this first application cure for a full 24 hours -- removing the C-clamps too early may result in the layers de-laminating again. If this occurs, you'll need to Dremel out the cured epoxy and start over.
5. Fill in Rest of Damage With Epoxy

After 24 hours, remove the C-clamps and inspect the re-laminated layers. If the layers are wholly re-compressed, you can now fill in the rest of the damaged area, covering the foam or wood core.
Mix a second, larger batch of resin and hardener. Then liberally coat the exposed core of the ski or board until the damaged area is entirely filled in.
If the damaged area is large, it may be helpful to line the area with tape. This can help prevent the epoxy from running out. It's best to use epoxy release tape, but blue painter's tape will do.
Let the second batch of applied epoxy fully cure. It may take 24 to 48 hours to harden sufficiently, depending on how much is applied.
6. Sand Down Excess Epoxy

Once the second application of epoxy is fully cured, you may sand it down to contour it with the profile of the ski or board. Before sanding, we recommend covering the surrounding area with masking tape; this will protect the adjacent finish from scuffing.
Start with a rough grit for removal (200 to 250 grit) before smoothing the application with a fine grit (1,000). After sanding down the high spots, you may find low spots need to be filled in. Mix a third and final batch of epoxy to apply a thin leveling coat atop the sanded area.

After the final coat is cured, re-sand until the entire area is smooth and level with the rest of the ski's or board's edge or surface. It's important to get the epoxy level and flat; even a small bump or valley in the surface could cause turbulence and affect performance in the water.
7. Paint or Coat The Epoxy Repair

Although epoxy is strong, it is not UV resistant. Sunlight will degrade the exposed repair over time. It's best to cover the repair with a water-resistant paint. Acrylic aerosol paints work best. We've painted this repair with Krylon Fusion Black Spray Paint.
Now that we've covered repairing your damaged ski or wakeboard, we have to clarify: There is, of course, nothing wrong with simply using your damaged setup as an excuse to upgrade!
If your board's too beat up to salvage, check out our new wakeboard models, in stock now. Looking for skis? We've got you covered.

